The level 2 charger installation cost is rarely just the price on the box. Most drivers end up paying for hardware, electrician labor, permits, and sometimes a panel upgrade that shows up like an unexpected firmware regression: nobody planned for it, but now it is the whole project. A simple garage install can stay in the low hundreds if the electrical panel is close and already has spare capacity. Once the run gets longer, the breaker is undersized, or the panel is maxed out, the bill can move into the low thousands fast. That is why a clean quote matters more than a glossy product page.
What the quote should include
A real quote should separate the EV charger itself from the electrical work. The hardware is often the easiest part to price. Popular home units from ChargePoint, Emporia, Grizzl-E, and Tesla usually fall somewhere around $350 to $700, depending on amperage, cable length, and smart features. Labor is where the spread starts. A straightforward wall mount with a short wire run can land around $400 to $900 for installation, while a more involved job with conduit, drywall work, or a longer route can push labor higher.
Permits are another line item people forget. In many areas, the permit and inspection process adds $50 to $300. It is not exciting, but it is the difference between a clean install and a future headache. If the electrician discovers that the panel has no open space or that the main service is too small, the estimate can change from a weekend project to a utility-grade upgrade.
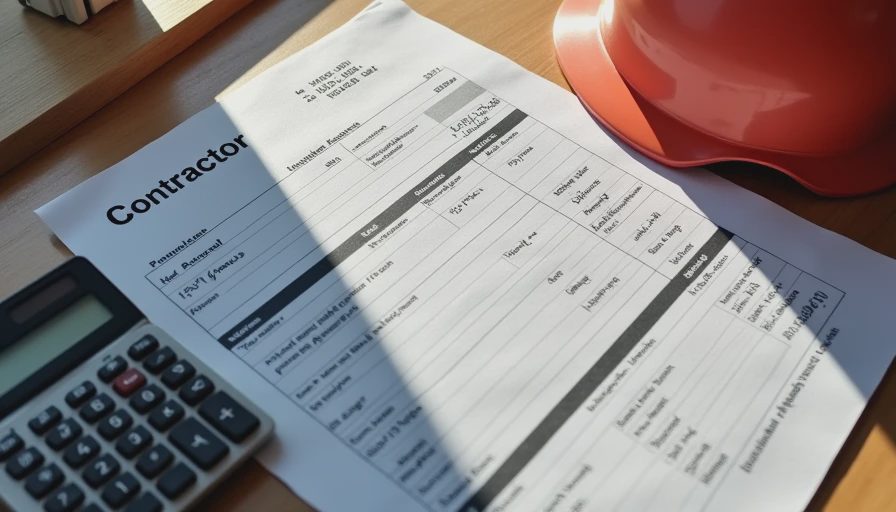
When you compare bids, look for the total scope: charger hardware, breaker, wiring, conduit, mounting, permit filing, inspection, and cleanup. A quote that only lists the charger price is not a quote. It is a teaser.
Typical price ranges by home setup
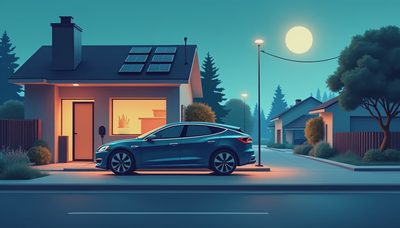
For a home with a garage panel already nearby and room for a new 240-volt circuit, the level 2 charger installation cost often lands between $700 and $1,500 all in. That range usually covers a decent midrange charger and a standard install. If the panel is on the opposite side of the house and the electrician needs a longer cable run, the total can rise to $1,200 to $2,500. Distance is expensive because copper, conduit, and labor are expensive, not because the wall senses your optimism.
In older homes, the cost pattern is less forgiving. A 100-amp panel that is already serving HVAC, an electric range, and a dryer can leave little room for another high-draw circuit. In those cases, the electrician may recommend load management, a smaller charger setting, or a panel upgrade. That is where the total often jumps to $2,500 to $6,000, depending on service size, local labor rates, and whether the utility needs to be involved.
Apartment and condo installs are a different animal. The charger may be cheap, but property approvals, trenching, shared parking, and long conduit runs can dominate the budget. The quote should show whether the project is a direct wall mount, a detached garage install, or a parking-space solution with extra compliance work.
Hardware choices that change the math
Not every charger forces the same bill. A 32-amp unit is usually easier to install than a 48-amp unit because the wiring and breaker requirements are lighter. If a driver only needs overnight charging for a daily commute, a 32-amp setup can be enough and can keep the project cheaper. A 48-amp setup may charge faster, but it asks more from the panel and the circuit.
Brand choices matter too. Tesla Wall Connector pricing is usually competitive for Tesla owners, while smart chargers from ChargePoint or Emporia often appeal to drivers who want app control, usage tracking, or scheduled charging. Grizzl-E is known for a simpler, rugged setup. None of those brands erase electrician labor, but they do change the starting point. A $399 charger with a $1,000 install still beats a premium unit that forces a more complicated electrical layout.
Cable length also matters more than most buyers expect. A 12-foot cable can work if the car parks close to the wall, but a 24-foot or 25-foot cable gives more flexibility. That extra reach can cost more upfront, yet it can save money if it avoids a second mounting location or extension of the conduit path.
The best way to think about it is this: the charger is the product, but the installation is the system. The system is what decides the final invoice.
When a panel upgrade becomes unavoidable
A panel upgrade is the line item that turns a routine install into a real project. Electricians usually start by checking total household load, existing breaker capacity, and whether the panel has physical space for a new two-pole breaker. If the home already runs close to capacity, the electrician may not be able to add a 240-volt circuit safely without additional work.
A basic subpanel or service upgrade can add $1,500 to $4,000, and larger service changes can run higher. The exact number depends on whether the meter base, service mast, grounding, and utility coordination need attention. If the house still has an older 100-amp service and several large appliances, the panel upgrade may be the only clean path to reliable charging.
There is a practical upside, though. Once the electrical side is modernized, future additions get easier. A second EV, a heat pump, or a workshop circuit no longer feels like a battle with the breaker box. If you are already planning to keep the vehicle for years, that upgrade can be money well spent.
How to compare electrician quotes without getting sandbagged
The fastest way to compare bids is to force every contractor to price the same scope. Ask for the charger model, breaker size, wire gauge, estimated conduit length, permit handling, and whether any drywall repair is included. A vague quote that says “install EV charger” can hide a lot of variable work. The cleaner bids are the ones that show the path from the panel to the parking spot.
You also want to know what is excluded. Some electricians price the basic install but leave the permit fee, after-hours work, trenching, or panel repair out of the headline number. Others include a charger purchase discount but make the labor more expensive. A good comparison is less about the sticker price and more about the final installed cost on the same assumptions.
If one quote is dramatically lower, check whether it assumes a shorter cable run, a lower-amperage charger, or no permit. If one is dramatically higher, ask what problem it is solving. Sometimes the expensive quote is the only one that actually accounts for the house you own.
A practical budget before you buy
A safe planning number for the level 2 charger installation cost is $1,000 to $2,000 for a fairly normal home install, with the understanding that panel upgrades can push it well beyond that. If the panel is modern, the garage is close, and the city permit process is simple, you may come in under that range. If the wiring path is long or the service is old, expect the total to climb.
The best move is to get one quote before buying the charger and a second quote after the electrician has seen the panel. That two-step approach exposes the real cost before you commit to a specific brand or amperage. It also keeps you from buying hardware that looks perfect on paper but creates an expensive install in the real world.
If you want the shortest path to a sane decision, focus on total installed cost, not the charger listing price. That is where the actual budget lives, and it is the number that decides whether home charging feels like a win or another piece of expensive hardware with a long setup menu.
No letters yet — be the first guest to write.